Showing posts with label Tutorial. Show all posts

Sunday, 21 October 2018

Spooky Goings On... How To Make a Wreath


It's October and nearly time for Halloween. It seems to be getting bigger and bigger each year, though we sadly don't get any trick our treaters down our street. I thought I'd make a wreath with this lovely  spooky fabric, bright orange with black pumpkins and black with sparkly silver cobwebs. I also picked up some orange ribbon with black bats.


I had some black pipe cleaners in with my felting stash so borrowed them for this project too and some small wire clippers so I could clip the pipe cleaners in half to use as wires to connect the fabric to the wreath base.


I scrunched up a strip of orange and black fabric and tightly wrapped a pipe cleaner around it.


The wreath base I used has 2 concentric circles, so I connected my little wrapped 'bows' each circle, packing them in quite tightly.


To sit on my wreath and add the spookiness, I wanted a big spider. I made 2 pom poms, tied them together and trimmed the bigger one to make it flatter underneath. I used my glue gun to stick 4 long pipe cleaners to be my spiders 8 legs and 2 large googly eyes. I used yarn to tie the spider to the wreath and hid the knot under the fabric 'bows'.


A long piece of ribbon tied to the frame as a hanging loop and a few more pieces to make bows. I'm really pleased with how it's turned out.


It's actually quite heavy, the frame I used was 14 inches, so quite big.


I thought as I'm talking Halloween, I'd show you these lovely pumpkins and gourds, all different shapes and colours, they make good decorations.


Anyone else making any halloween preparations?

Take care
xxx

Monday, 10 July 2017

Joining a Seam, Stars and a Good Book

Thank you for all the lovely comments and good wishes for Imogen. Her knee is still swollen, but so much better than it was and she's getting round with more ease now. Also some good news for my parents, the operation my dad had to remove his cancer, though it was very intrusive has actually removed all the cancer with no need for follow up radio or chemotherapy. With his leaking heart valve, this is very good news indeed. Dad still has to have a scan to check out the mass on his adrenal gland, but the consultant said it isn't linked to the cancer he has had removed as it doesn't travel that way through the body. We're all hoping it may be a fatty mass and nothing to worry about, this will leave the open heart surgery then hopefully good, steady recovery and life resuming as much back to normal as is possible, onwards and upwards!

On the grandson countdown, we have under 4 weeks now until the due date. I crocheted a little blanket (the idea was from the blog Just Pootling) and knitted a little hat to match.


I love the off white stars against the dark grey background and I thought the pom poms gave the hat some more personality.


Andrew very kindly laid them out and took photos before they were added to the pile of goodies for Imogen to take to the baby shower on Saturday. I think one of my favourite things was a very soft, pale blue bunny with long floppy ears that I picked up one day in a garden centre, but I forgot to take a picture of it.


I thought as I've just sewn the pieces of the hat together, I'd quickly take a couple of photos to show how easy it is to sew knitted items together in a seamless way.


In the photos above and below, I've taken the needle and picked up the tiny stitches from 'inside' the larger 'V' of the knitted stitch. I then did the same on the opposite side, taking from inside the 'V' stitches again.


After working my way down both sides and pulling the thread, it looks seamless. It would be better if I'd shown you in a contrasting colour, but I just took the pictures as I was sewing it together.


The top of the hat is sewn in a similar manner and makes a neat seam.


When the knitted fabric meets end to end like this, I take my stitches by pushing the needle under both posts of a 'V' stitch (photo below).


I then too the needle under the 2 posts of the 'V' stitch that lays directly opposite it


Again, it makes for a good, smooth join.


I mentioned in my last post that I had a good book on the go. I See You by Clare Mackintosh. It was my first book from this author, but I shall definitely be picking up another of her books, I thoroughly enjoyed it.


A thriller (my favourite type), which kept me turning the pages from beginning to end. Set in London, an 'ordinary' woman spots a photo of herself in the classified ads in her local paper, very unnerving, yet her family think she's paranoid and it isn't her. The next week a different woman's picture appears and people start dying...


I'm having a declutter this afternoon, so back to the cupboards for me.

Take care
xxx

Sunday, 29 January 2017

How to Turn Small Things Inside Out... and some Bunnies

Thank you to everyone who left a comment on my last post, Imogen is much better and can't wait to get back to school tomorrow. It was interesting to read the comments about the book too, I think I probably didn't do it justice, please don't let my review put you off dipping into it, it really wasn't written in a disturbing way, more about relationships.

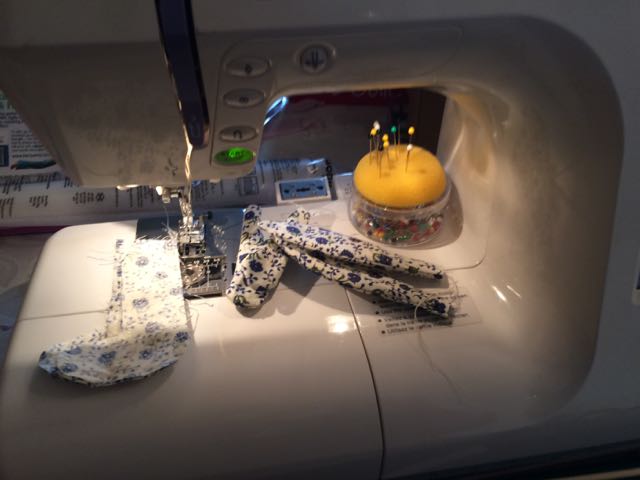
I've been dipping back into a bit of sewing this week. After finishing off a couple of cushions, I wanted to try something else, though not too taxing! I've sewn a couple of little bunnies


They weren't too bad to make for a beginner, I think the hardest part was probably turning the tiny ears,arms and legs the correct way round after sewing them... until I found a mind boggling easy way to do it!

I started by sewing around the ears, arms and legs.


Then to turn them the right way for stuffing I used a hollow tube and a stick. This may be old hat to an experienced seamstress, but to me was nothing short of amazing in it's simplicity.

For anyone who hasn't seen this easy method, novices like myself, firstly you make tiny snips around the bends and corners to reduce the bulk when it's turned around.


Then you place the hollow tube inside the piece that you want to turn inside out


push it right to the end.


Then, with a stick narrower than the tube, push the top back into the tube.


All the way until it pops back out the other end... the right way around.


 Then just gently push against the seams to regain the shape. So simple, but I'm so glad I know about it. The first part I turned the correct way was an ear and I did it with my fingertips, very fiddly!

Stuffing the small parts also seemed to take a while, getting the teeny bits of stuffing through and along the tiny limbs. I stitched the ears in as I stitched around the body, then the legs


the arms were sewn on afterwards when I stitched the back the bunny closed. I need to find a piece of blue ribbon for the second bunny to tie a bow around it's neck.


 2 little bunny friends, I really enjoyed making them and they didn't take too long, giving me a little more confidence to try something new.


While I was sat at my sewing machine, I was under observation! Gary was asleep in his bed, but Alfie and Honey were more curious wanting to know what was so important it was stopping me from playing with them. Don't they look cute!


 Take care
xxx


Friday, 10 August 2012

How to make a Crochet Bobble

Thought I'd make a little tutorial about how to make a crochet bobble as it's so easy even for a beginner like me once you know how! All my crochet terms are UK ones (and wasn't that something that really confused me starting off, different terms from different countries!).

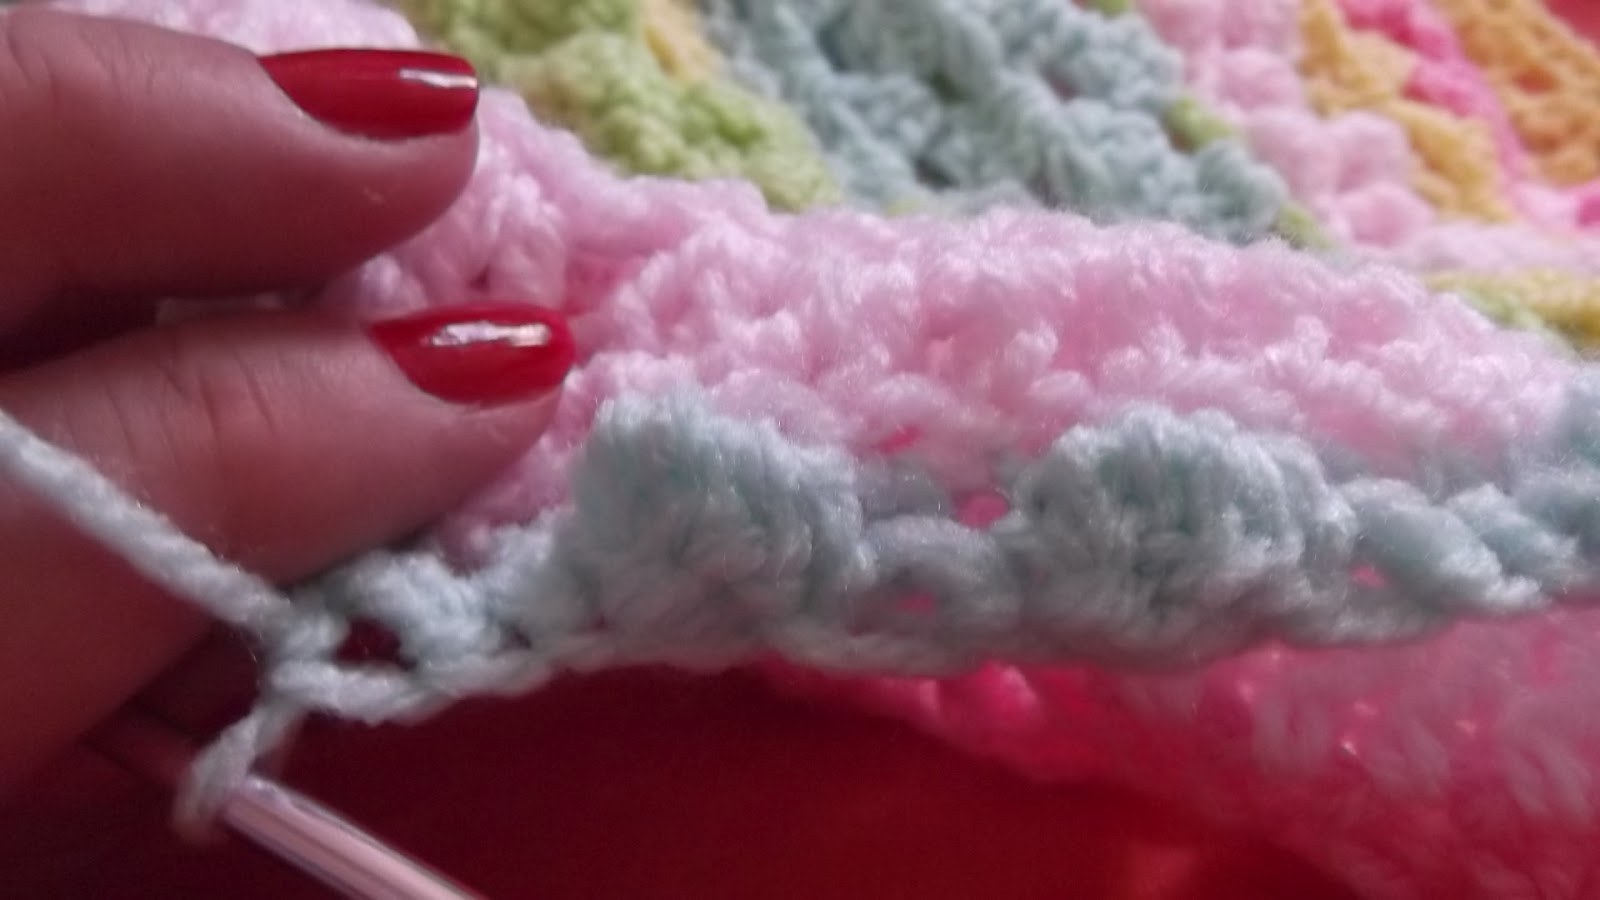
With the blanket I'm making at the moment, I'm doing 3 double crochets on my first line before starting (and in between) the bobbles. The bobbles are made on the back of your work, not the side facing you.

Then wrap the yarn over the hook before putting the hook through the next stitch as though about to crochet a half treble.


Go through the stitch, wrap around the hook again and pull back through the stitch so there are 3 loops on your hook


Wrap the yarn around again and pull through the first 2 loops so you only have 2 loops left, this is the end of the first part.


Now you just repeat the process. Yarn around the hook, through the same stitch as last time, yarn around again and slip through the top 2 stitches.


Do 4 of these through the same stitch. This will give you 5 loops on your hook.


Now wind the yarn around again, but this time pull the hook through all 5 loops on the hook.


This makes your bobble.


It looks quite flat until you do your next small double crochet stitch, this pulls it tighter causing the bobble to appear on the other side!


I hope that makes sense especially to anyone who's a novice like myself! I found it quite tricky taking photos while trying to crochet... will enlist help if I do it again! Imogen thought I was taking pictures of my hook and wondered what on earth her mother was up too!!

Take care
xxx